Creating the Ribbed Stitches

*Disclosure: This post may contain affiliate links*

Ribbed Stitches
Ribbed Stitches

During the class on creating the ribbed stitches, I must say that proved to be difficult for a beginner.

Not so difficult but I initially struggled with it, but when I saw the pattern taking shape, I loved it.

To simply describe it, remember the basic crochet stitches, you will be wrapping this new stitch around the waist of the previous stitch.
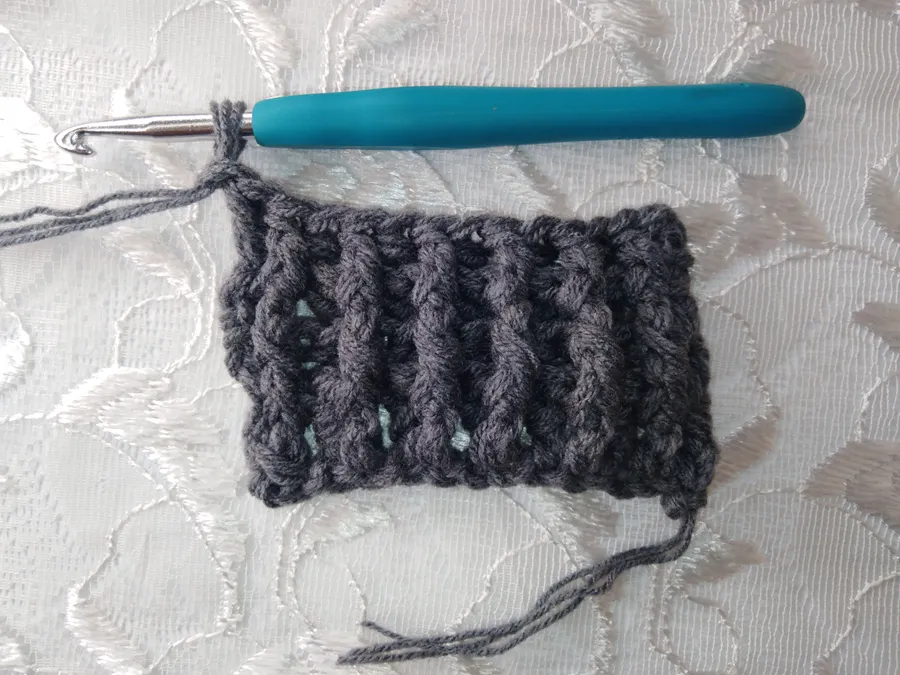

For instance, if I started my work with the foundational chains, then on the next row or line, I work a double crochet stitch. To get the ribbed effect, in the next row or line, I will wrap a double crochet around the previous double crochet stem.

The ribbed stitches involve picking the double crochet stem FROM THE FRONT for the first stitch and then picking the next double crochet stem FROM THE BACK.

I will keep repeating this process throughout the whole row or line.

This stitch type is referred to as the FRONT-POST and BACK-POST stitches.

On the next row or line, the stitch you previously worked a front-post, you will now work a back-post on it, to reverse the effect and maintain the ribbed pattern on each project face.

It’s tiring. I know.

So, I worked the front-post and back-post on about four rows and ended my practice for the day.

—————————–

More style to us!!! Visit the VolaCraft page to see more products.

Handcrafting with love.

Leave a comment

Meet EbeleTheCrocheter

Meet EbeleTheCrocheter

You probably might not believe it, but there is an orgasmic joy when beholding a handmade craft and I am here to give you that.

Related Posts

To contact us, email volacraftng[@]gmail.com or vc[@]volacraft.com