Making the Magic Circle and a Crochet Hat

By

Ebele Ubaka
June 28, 2024
Read Time: 1 minute(s)

*Disclosure: This post may contain affiliate links*

Magic Circle
Magic Circle

In the making of the crochet hat, the process starts with a magic circle.

It is a work of crocheting round and round and round until you get to your desired height.

The image above shows a snippet of how the circle is gotten as a base for the work, different from the slip knot with foundational stitches.

For me to make the hat, once I get the magic circle, next is to use any of your preferred stitches (single crochet, half-double crochet, double crochet, or treble crochet) to go round the loop, usually about 12 -14 stitches.
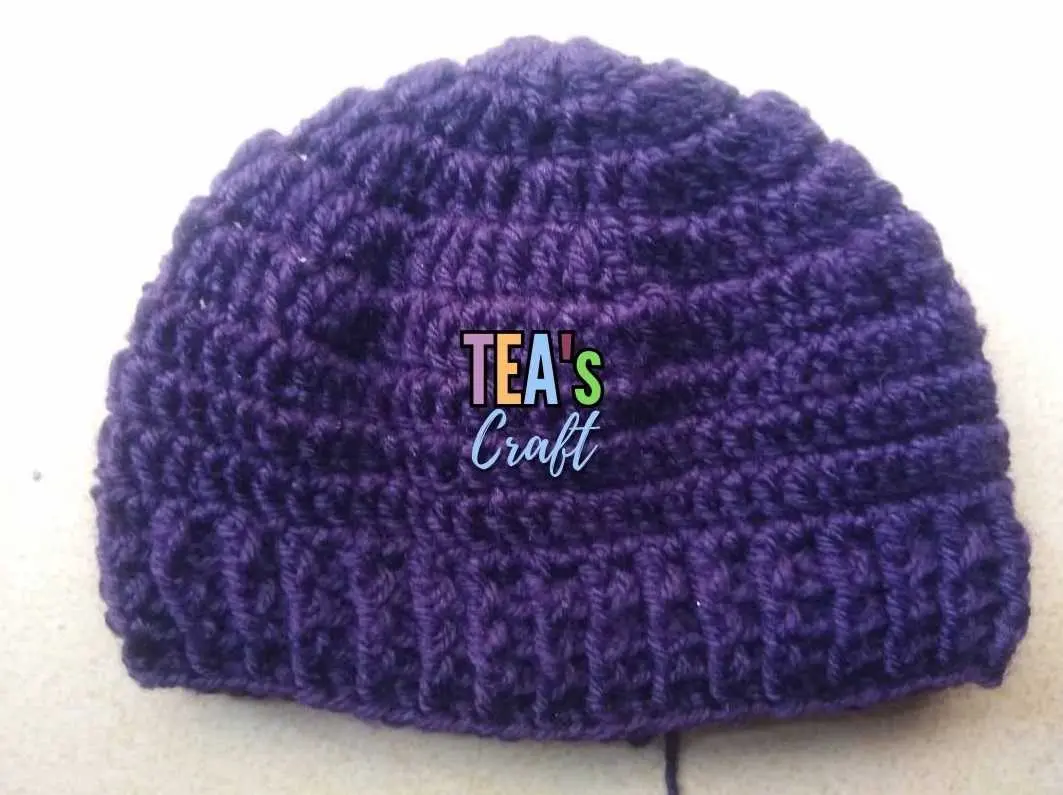
Crochet Hat
Crochet Hat

I closed the circle with a slip stitch and made a starting chain for the next round.

In the next round, to ensure my circle remains flat, I make two stitches into every opening of the previous round. This is known as INCREASING STITCHES.

In the next round, I did not use the same pattern as the second round. Instead, I made one stitch in the first opening and two stitches in the next opening. I kept reversing the work until I finished that round.

In the next round, I made one stitch in the first opening, one stitch in the next opening, and two stitches in the next opening. I kept reversing the work until I finished that round.

To avoid getting confused, you will just ensure that all double stitches are on top of each other for every round.

There is a measurement you will get to, and you will stop the increases, adding more rounds till you get to the height that will fit your desired head.

For the finishing of the edges, you can use the front-post and back-post stitches as you can see in the hat above. This gives the ribbed effect.

To make the ribbing a bit tighter and have a firm grip on the head of the wearer, use a smaller hook size than the one you used for the other parts. For instance, if you used a hook size 6mm in crocheting the rounds, use a size 5mm or 4.5mm for the front-post and back-post stitches.

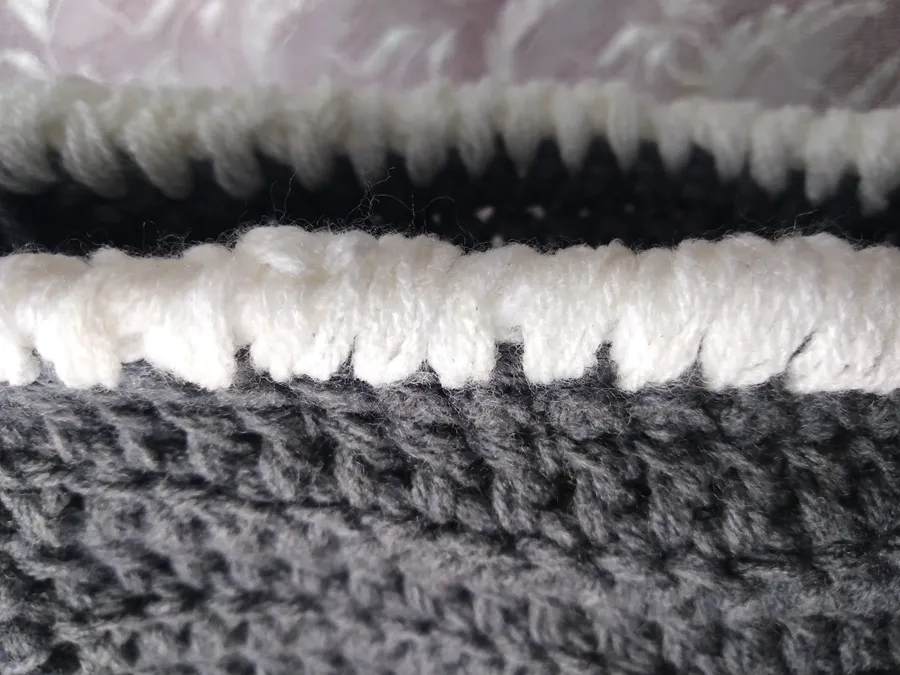
You can also use the crab stitches as shown below. Crab stitches are basically any stitches worked in reverse. The effect is better done with the double crochet stitch.

Crab Stitches
Crab Stitches

—————————–

More style to us!!! Visit the VolaCraft page to see more products.

Handcrafting with love.

Leave a comment

Meet Ebele | Fibre Artist

Meet Ebele | Fibre Artist

Welcome to VolaCraft! I’m Ebele, and I love creating eco-friendly handmade crafts just for you. Each piece is crafted with love, care, and attention to detail to bring warmth and beauty to your wardrobe and home. Experience the joy of owning something truly unique, made to inspire and delight.

Related Posts

To contact us, email volacraftng[@]gmail.com or vc[@]volacraft.com