The Decreasing and Increasing Stitches

*Disclosure: This post may contain affiliate links*

Decreasing and Increasing Stitches

Learning to do the decreasing and increasing stitches.

As the name goes, it is a time in your work when you want to increase or reduce the width of your work.

It gives your work a flared effect or a tapered effect depending on which one you choose.

This decrease or increase effect is applied to all basic crochet stitches using a technique I was taught.

Let’s say, you want to create a pencil skirt, at the beginning of the crochet skirt, you start with the measurement of your waistline e.g. 30 inches.
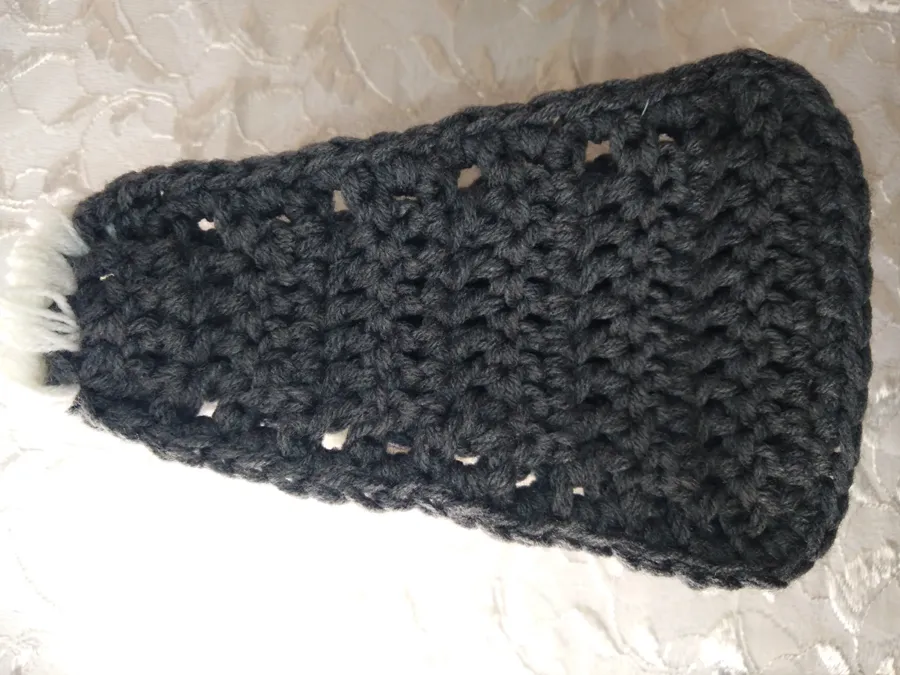
As you get closer to your hip line (38″), you cannot still be using 30″ width to be crocheting.

That skirt will not pass through your legs.

That’s an instance where an increasing stitch comes in.

You will need to start expanding your stitches till you have 38″ in width.

After getting about the hip area of the skirt, you will need to decrease it again to get your pencil skirt effect.

If you are doing a flared skirt, then you will not need to decrease. Just continue the increases until you get the desired skirt length.

But since we are working on a pencil skirt, we take on the decreases till we reach the width that matches the waistline (30″) or maybe smaller (if you wish to).

That’s basically what the decreasing and increasing stitches are all about.

So on the third day, I did the above and ended my practice for the day.

—————————–

More style to us!!! Visit the VolaCraft page to see more products.

Handcrafting with love.

Leave a comment

Meet EbeleTheCrocheter

Meet EbeleTheCrocheter

You probably might not believe it, but there is an orgasmic joy when beholding a handmade craft and I am here to give you that.

Related Posts

To contact us, email volacraftng[@]gmail.com or vc[@]volacraft.com